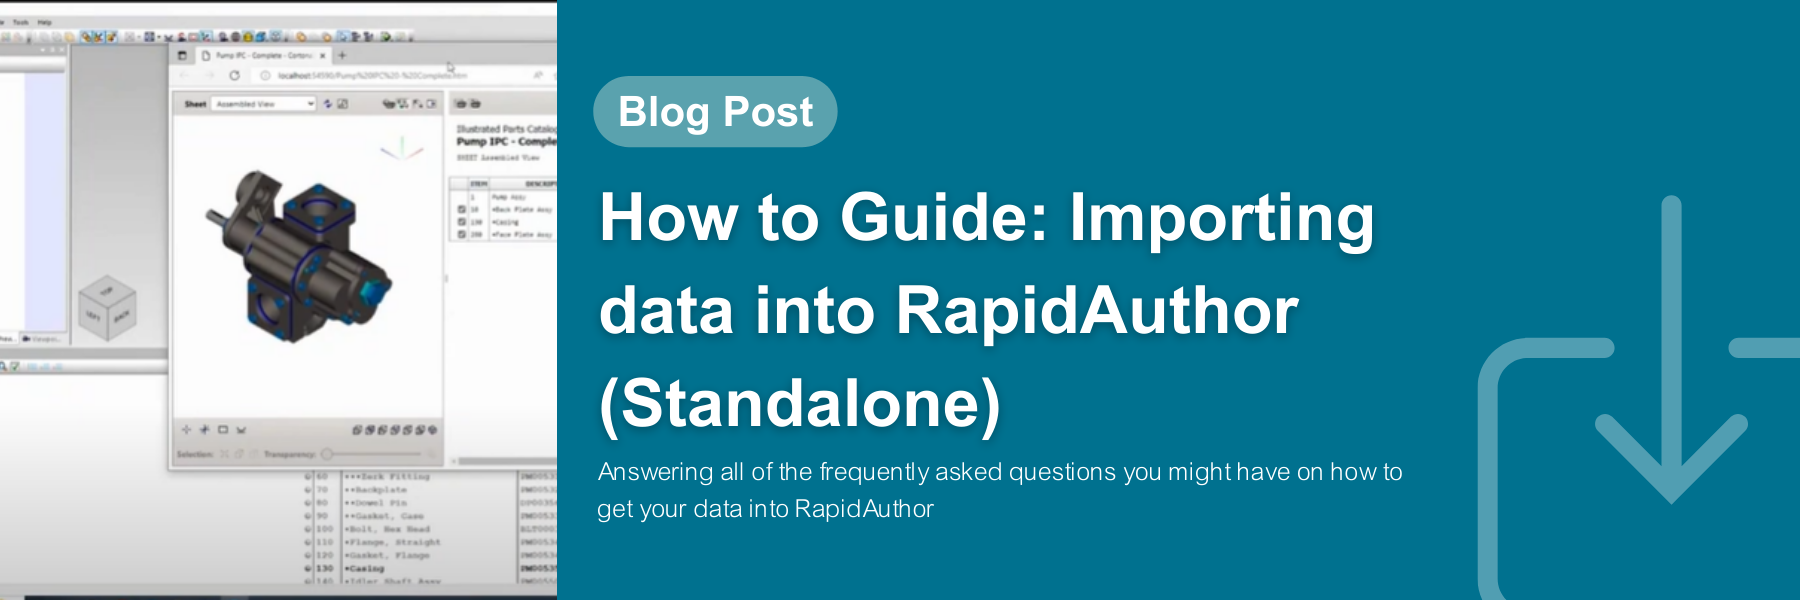
How to Guide: Importing data into RapidAuthor (Standalone)
By Dominic Santoro
FAQs
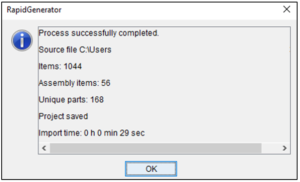
- How long does importing take?
- The initial import will take a few seconds to a few minutes depending on the size of the assembly.
- How to add a parts list?
- Initially when the CAD data is brought in the parts list data is also brought in. It can be adjusted very easily during authoring as well.
- What types of files can be imported?
- 3D PDF, 3DXML, CATIA, I-deas, IGES, IFC, Inventor, JT, NX, Parasolid, PLMXML, PRC, Pro/E, Solid Edge, Solidworks, STEP, STL, and U3D.
- What file format is my Rapid Author file and publications in?
- The authoring tool saves the files in .vmp, and the publications can be exported in PDF or HTML.
Tutorial for Importing data into RapidAuthor
Step 1) Creating a Project
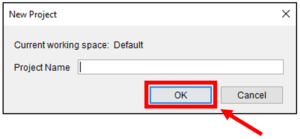
Open RapidGenerator and create a New Project
Type in a Project Name and select OK
Step 2) Importing CAD data
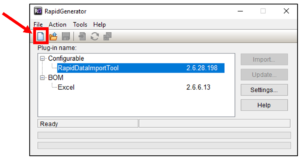
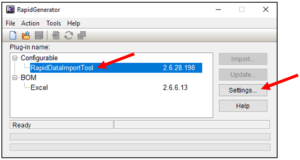
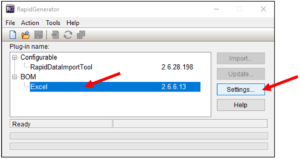
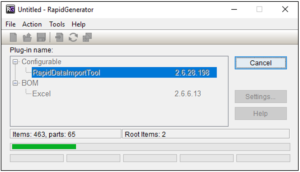
Select the RapidDataImportTool and Select Settings
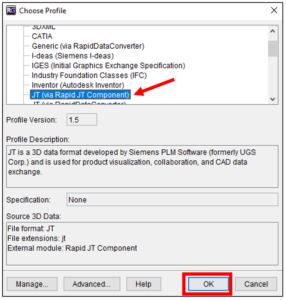
Identify which type of data will be imported from the list and select OK
Step 3) Importing the parts list
Select Excel and select Settings
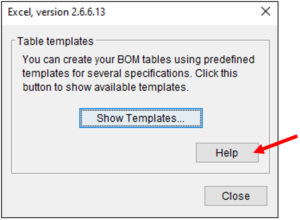
Select “Show Templates”

Save the excel sheet
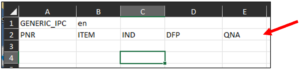
The first row may contain one or two cells:
- The first cell should contain the ID of the IPC specification to be used.
- The second cell should contain the ID of the language, for example, “en” for English or “ru” for Russian.
The second row is the table header. The plug-in creates a separate DPL row for each of these worksheet rows.
- The first column should contain unique identifiers of parts. Parts are usually identified by PARTNUMBER or PNR metadata. DPL rows having the same value in the first column are linked to the same part.
- The second column ITEM is the item number, usually starting with 1.
- The third column IND is the indent or how many layers deep a part is within a subassembly.
- The fourth column DFP is the description for each part.
- The fifth column QNA is the quantity for each part.
Hint: All columns except the first one are optional and may appear in any order.
Clicking “Help” can provide additional information for setting up the excel template.
Step 4) Importing

Open Rapid Author and select the project that was recently created.
If you have any questions about RapidAuthor or would like more information, contact us at info@cadituk.com or visit our Technical Documentation page